
Constant Contact Connection
You are now ready to get to the implementation part of the integration. Before you proceed, make sure you have completed the following checklist:
- Account connected to Data Bridge.
- Personal account in Altru with selected roles.
- Account in Constant Contact.
- API Credentials with Constant Contact.
- Custom Attributes.
- Custom Note Type.
Step 1: Login
- Log in to the application.
- Click on “Data Bridge”.
- Click on “+ Create Data Bridge”.
Step 2: Create a Data Bridge
- Enter the name of the Data Bridge.
- Click “Next”.
- Select “Altru data”.
- Add the OData link from the previously created query.
- Click on “Next”.
- Click on “Create Data Bridge”.
Step 3: Create a widget
- Click on the widgets tab.
- Click “+ Create Widget”.
- Name the widget.
- Click next.
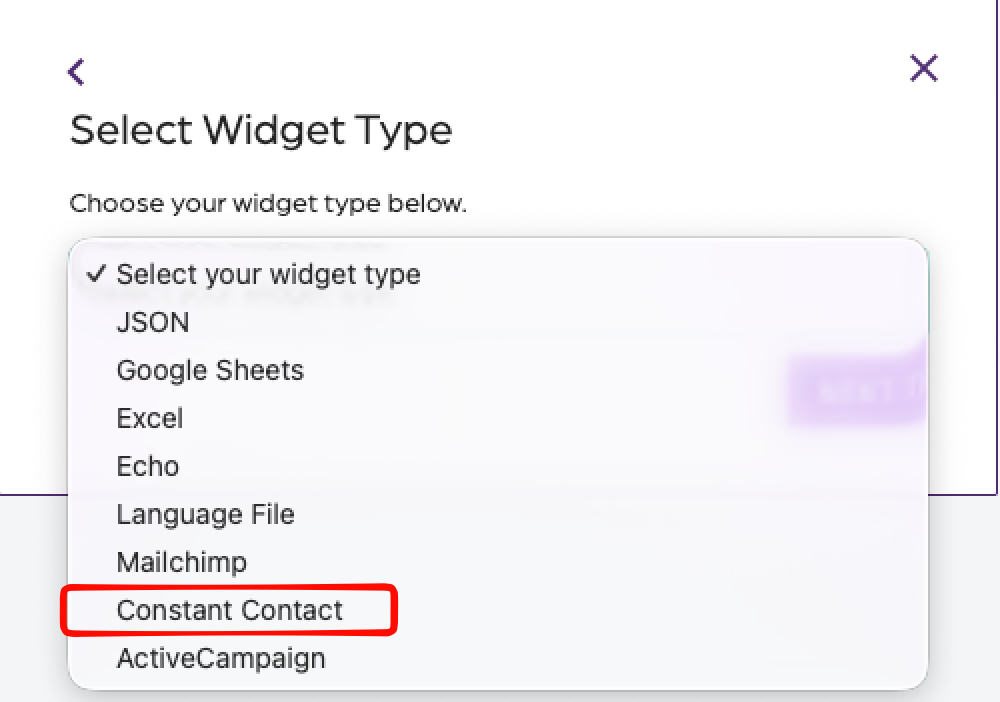
- Select the Constant Contact type of widget from the dropdown menu.
- Click on “Next”.
- Click on “Create widget”.
Step 4: Connect Constant Contact widget to Altru
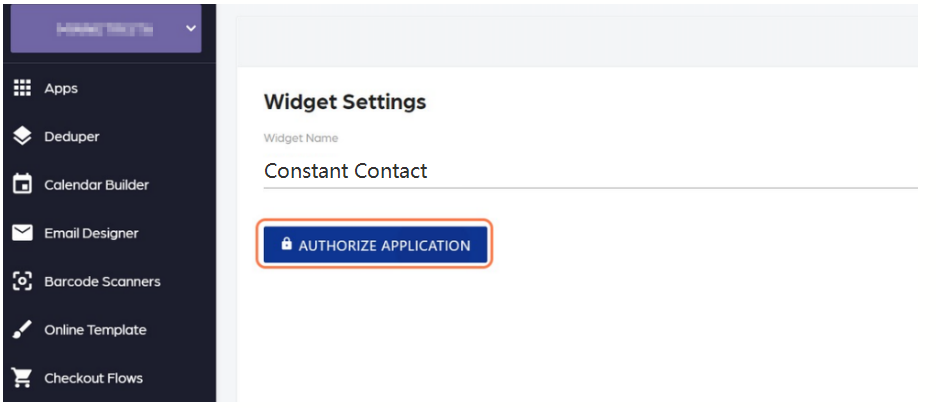
- Select the Constant Contact widget.
- Click on Settings.
- Click on Authorize Application
- Enter the Constant Contact credentials and follow the process
Step 5: Configure settings
- Click on the
- Click on SYNC Activity.
- Click on Request Data.
- A pop-up window will open to confirm the request of data.
- Click on Request Data again and wait a few seconds for the data download to be completed.
- Click on the settings tab.
- Click on each gear icon to each item to select the Merging key, Merged columns, and Hidden columns.
Step 6: Data Bridge Settings inside the Widget

- Map fields for the constituent.
- Click the little gear icon.
- Verify if the mapping of each field is correct.
- Click on Save.
Step 7: Testing and verification
- Click on the Test Integration button to display your test results. If your test fails, more than likely, it’s because you are missing the correct permissions.
- Close the dialog.
- Click on the Preview tab.
- Click on "SYNC Data," and this initiates the data synchronization process.
- Review results in the SYNC Activity tab.
- Click on Settings, then Enable Integration.
This depends on the size of your list; for example, if your list size is 1,000 contacts, it takes five minutes to complete the sync process.