
Configure PL60 Ticket Scanner (not provisioned)
If you purchased the PL60 device from another vendor, the device will need to be provisioned for our Android policy to manage it on your behalf. This includes sending updates to the scanner, maintaining security updates, and allowing remote access for support requests.
Step 1:
- Tap on “Settings”.
- Tap on “System”.
- Tap on “Reset options”.
- Tap on “Erase all data (factory reset)”.
- Tap on “Erase all data”.
- Your device will erase all data and restart.
Step 2:
- The device restarts on the “Hi there” screen.
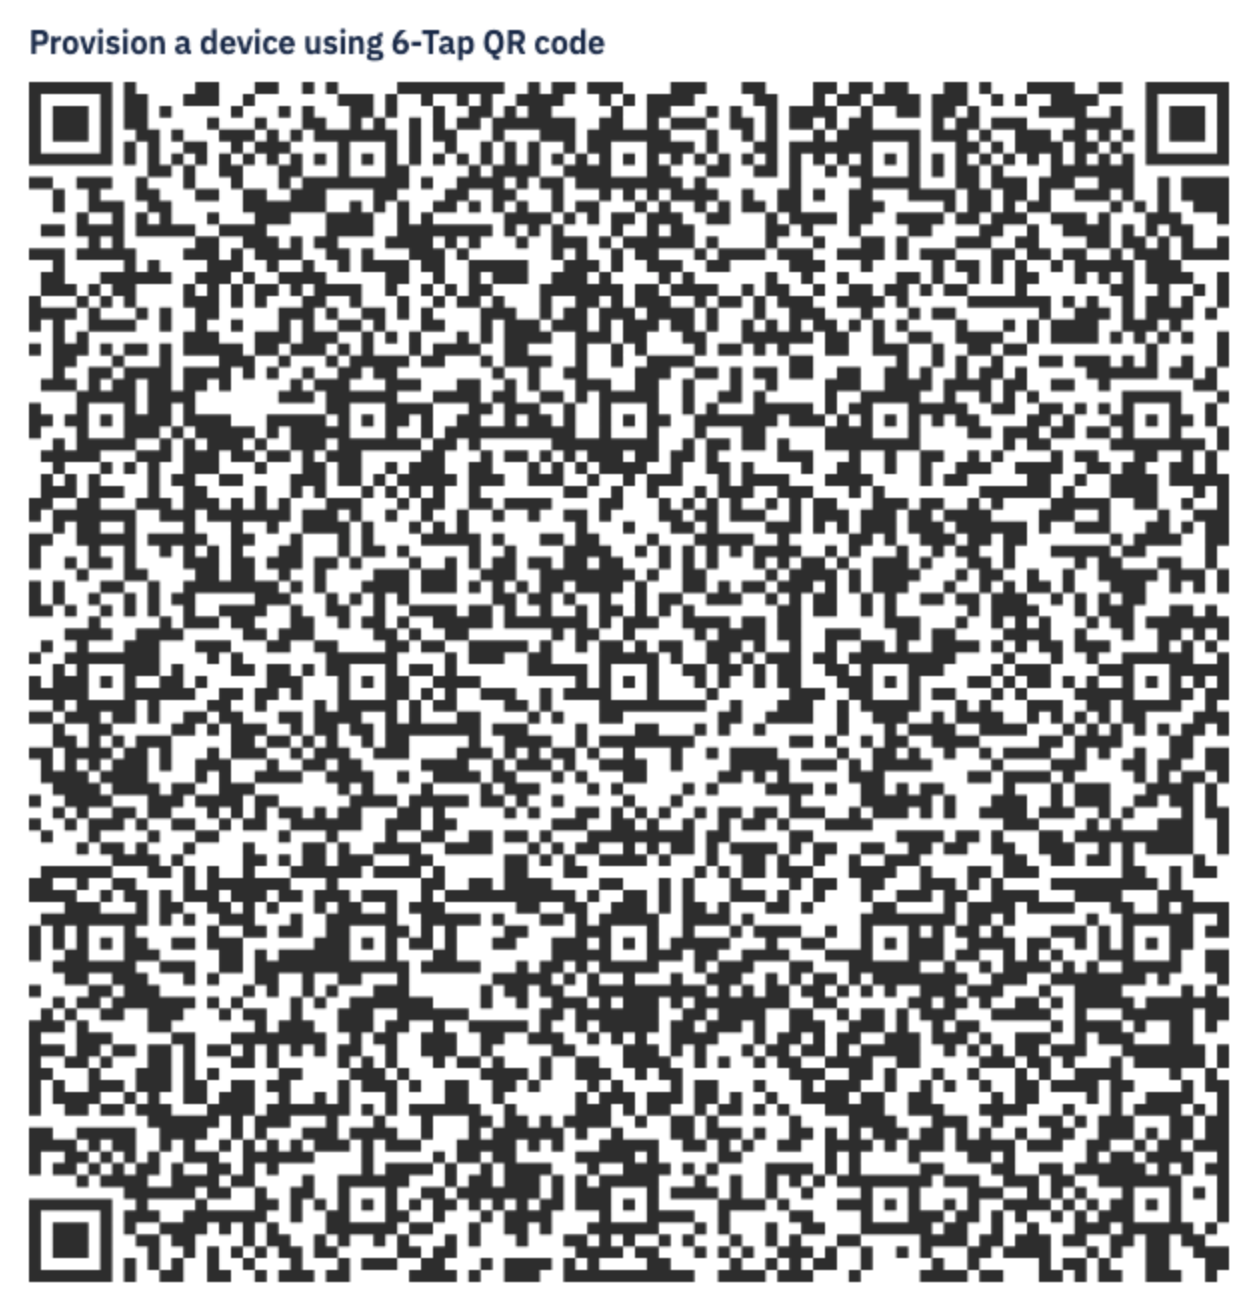
- Tap the screen six (6) times to open the QR code reader.
- Scan in the following QR Code.
- Select a Wi-Fi connection.
- Tap on “Connect”.
Step 3:
- The device is now ready to be provisioned.
- Tap on “Next.
- Accept the “Terms”.
- Accept “Privacy” terms.
- Accept “Google service” terms.
- Your device then gets provisioned with the application.
Step 4:
- Tap on “Ticket Scanner” to launch the application.
- Application prompt to log in will appear.
- Enter your 8-digit security code to authenticate your device.
- You can enter it by scanning the barcode in your settings or manually entering it.
- Tap on the “eye” icon to verify it’s correct.
- Tap on the “Login” button to authorize the device.
Configure PL60 Ticket Scanner (not provisioned)
66a7dc55ebb98e6cfc598ec5
66d9ad4deb6616597e5620f9
"\nIf you purchased the PL60 device from another vendor, the device will need to be provisioned for our Android policy to manage it on your behalf. This includes sending updates to the scanner, maintaining security updates, and allowing remote access for support requests.\n\n**Step 1:**\n\n- Tap on “Settings”.\n- Tap on “System”.\n- Tap on “Reset options”.\n- Tap on “Erase all data (factory reset)”.\n- Tap on “Erase all data”.\n- Your device will erase all data and restart.\n\n**Step 2:**\n\n\n\n- The device restarts on the “Hi there” screen.\n- Tap the screen six (6) times to open the QR code reader.\n- Scan in the following [QR Code](https://socialgoodsoftware.com/provision-android).\n- Select a Wi-Fi connection.\n- Tap on “Connect”.\n\n**Step 3:**\n\n- The device is now ready to be provisioned.\n- Tap on “Next.\n- Accept the “Terms”.\n- Accept “Privacy” terms.\n- Accept “Google service” terms.\n- Your device then gets provisioned with the application.\n\n**Step 4:**\n\n- Tap on “Ticket Scanner” to launch the application.\n- Application prompt to log in will appear.\n- Enter your 8-digit security code to authenticate your device.\n- You can enter it by scanning the barcode in your settings or manually entering it.\n- Tap on the “eye” icon to verify it’s correct.\n- Tap on the “Login” button to authorize the device.\n\n"