
2 - Adding a user
Step 1: Select the correct environment
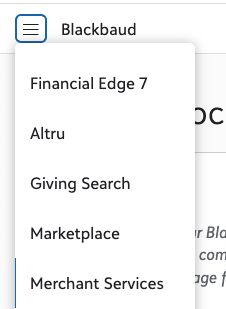
- Log in to Blackbaud.
- Navigate to the “Merchant Services” page from the dropdown menu.
- Select the environment you authorized from the linking Checkouts application.
Step 2: Create a User
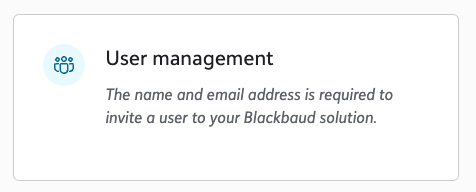
- Click on the “Security” tab.
- Click on “User Management”.
- Click on “+ Add user”.
- Enter the first name of the person performing the addition.
- Enter the last name of the person performing the addition.
- Enter the email address.
Step 3: Assign the role you created
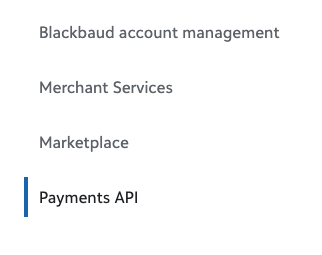
- Select “Payments API” from the left menu.
- Select the dropdown from “Payments”.
- Select the role “Link2Pay” created earlier.
- Click on “Send Invite”.
- Accept the invitation.
Step 4: Accept the invitation
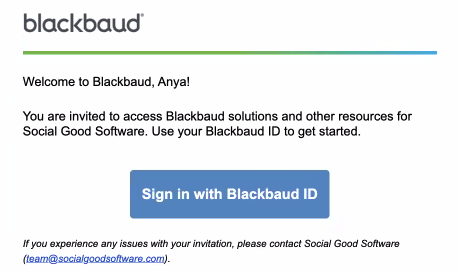
- Sign in with the user who approved the invitation.
2 - Adding a user
674522bec70af9799c5c75c8
682f60b28c0d8d14bd0df40a
"\n**Step 1: Select the correct environment**\n\n\n\n- Log in to [Blackbaud](https://app.blackbaud.com/).\n- Navigate to the “Merchant Services” page from the dropdown menu.\n- Select the environment you authorized from the linking Checkouts application.\n\n**Step 2: Create a User**\n\n\n\n- Click on the “Security” tab.\n- Click on “User Management”.\n- Click on “+ Add user”.\n- Enter the first name of the person performing the addition.\n- Enter the last name of the person performing the addition.\n- Enter the email address.\n\nI> Use any valid email address, such as: [info@olympiagardens.com](mailto:info@yourorganization.com), [admin@](mailto:admin@yourorganization.com)[olympiagardens.com](mailto:info@yourorganization.com), [yourname@](mailto:yourname@yourorganization.com)[olympiagardens.com](mailto:info@yourorganization.com), where ‘[olympiagardens.com](mailto:info@yourorganization.com)’ is the organization's domain.\n\nI> Any valid email is possible as long as it is not associated with an active Altru account.\n\n**Step 3: Assign the role you created**\n\n\n\n- Select “Payments API” from the left menu.\n- Select the dropdown from “Payments”.\n- Select the role “Link2Pay” created earlier.\n- Click on “Send Invite”.\n- Accept the invitation.\n\n**Step 4: Accept the invitation**\n\n\n\n- Sign in with the user who approved the invitation.\n\n"