
Members names
Step 1: Enable setting
- Log in to the application.
- Click on “Development”.
- Click on “Membership Card Designer”.
- Click on your membership card.
- Scroll down in the “Designer” tab.
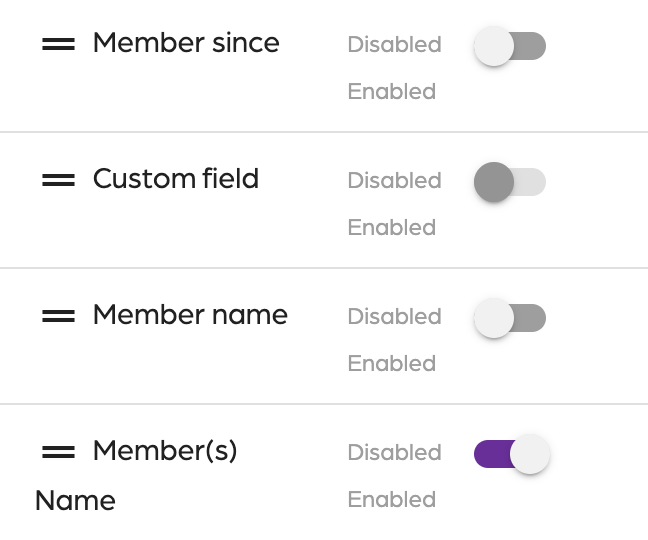
- Enable “Member(s) Name to show all members included on the membership.
- Click on “Save Design”.
If the “Member(s) Name” is enabled and there are more than two members in a membership, the first two members will be shown in the membership card, but the additional members will not be displayed.
Step 2: Edit back of card
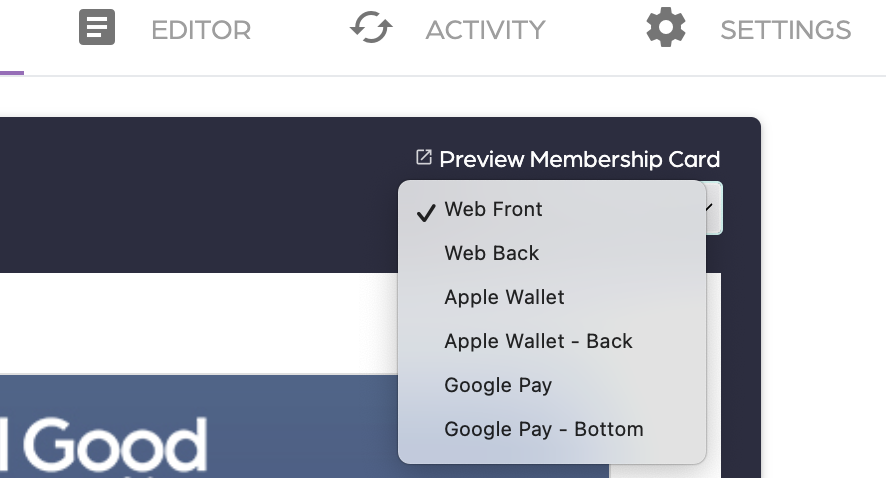
- Click on the drop-down of the card on the “Designer” tab.
- Click on “Web Back”.
- Enable preferred display options for the back side of the card.
- Click on “Save Design”.
Members names
674522ea00e65011afed6165
67462c59307da42f0b89e58c
"\n**Step 1: Enable setting**\n\n\n\n- Log in to the application.\n- Click on “Development”.\n- Click on “Membership Card Designer”.\n- Click on your membership card.\n- Scroll down in the “Designer” tab.\n- Enable “Member(s) Name to show all members included on the membership.\n- Click on “Save Design”.\n\nIf the “Member(s) Name” is enabled and there are more than two members in a membership, the first two members will be shown in the membership card, but the additional members will not be displayed.\n\nT> You can also drag the Member's Name up to make it appear in the first row. If “Member(s) Name” is enabled together with any other two (2) options, you will not be able to enable other functions. It is because the “Member(s) Name” takes up the full row of the membership card.\n\n**Step 2: Edit back of card**\n\n\n\n- Click on the drop-down of the card on the “Designer” tab.\n- Click on “Web Back”.\n- Enable preferred display options for the back side of the card.\n- Click on “Save Design”.\n\n"